We have recently spent a lot of time working through and obtaining this certification. It really was a long and somewhat laborious process. If you are unfamiliar with this ISO standard then I won’t give you the complete definition but this paragraph sums it up. (You can read about it in depth on the ISO site).
The ISO/IEC 27001 standard provides companies of any size and from all sectors of activity with guidance for establishing, implementing, maintaining and continually improving an information security management system.
I suppose you might wonder what an information security management system actually is. I did too when we first went down the route to obtaining certification.
Prospective clients had asked us a lot about ISO 27001.
- Do we have it?
- Is it on our roadmap to obtain it?
- Why don’t you have it?
- If you don’t have it, how do you anyway implement clause x.y, paragraph b?
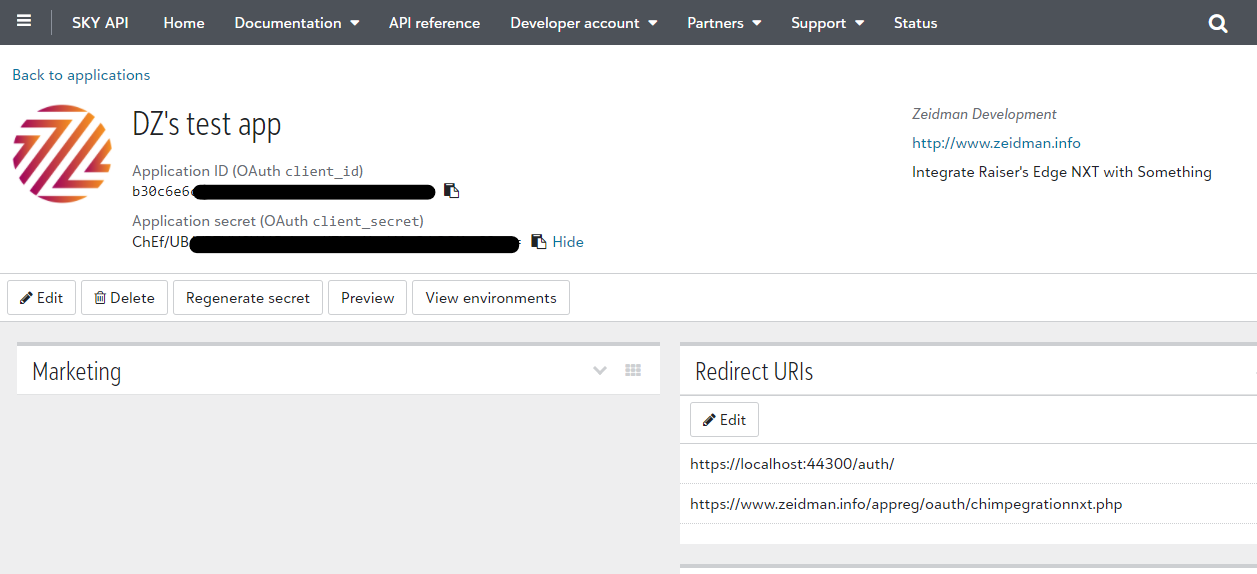
With Audit Trail, for example, we are handling a lot of data, potentially very sensitive data about the changes to donor’s records. In Chimpegration we work with supporters’ email addresses. In Importacular we move data about from one source of online data into Raiser’s Edge. How can we show that we are doing everything necessary to keep the data safe?
Of course, prior to obtaining the certification, we were doing a lot of things to ensure that data is transmitted securely, that we observe best practise in ensuring our code follows security standards and that all of our colleagues are kept up to date with data processing and cyber security regulations.
What we were not doing is documenting everything that we were doing in a formalised way. When you are a small company you may think,
I know what I know and I am doing everything that I know so I don’t need to write it all down.
As you grow and age (both as an individual and as a company) you forget why you have certain routines. You don’t question them. You just do them. The whole ISO 27001 process challenges us to review our processes. There is a requirement to audit them all over the lifetime of the certification. This forces us to look at what we are doing. Is a routine sensible for a company that has grown from 5 people to 10 people or from 10 to 20? Should we be doing the same thing now that we are based not just in one geographic jurisdiction but two or more?
While it was a lot of work to get the certification, it was definitely worth it. Our company is better for it. We know and we have clearly documented all of our routines. Our processes are in place and are validated regularly.
The ISO 27001 certification gives us confidence to manage our systems and data structures securely but equally importantly indicates to our clients that we do just that.